Apple Magic Mouse is around for quite a long time now. It’s a wonderful piece of hardware, especially for people who are tired using the tracking pad on their MacBook. Although the trackpad on a MacBook is one of the most precise mouse trackpads available in a laptop today, yet continuous usage could result into boredom. However, Apple has released the Apple Magic Mouse only for an Apple environment.
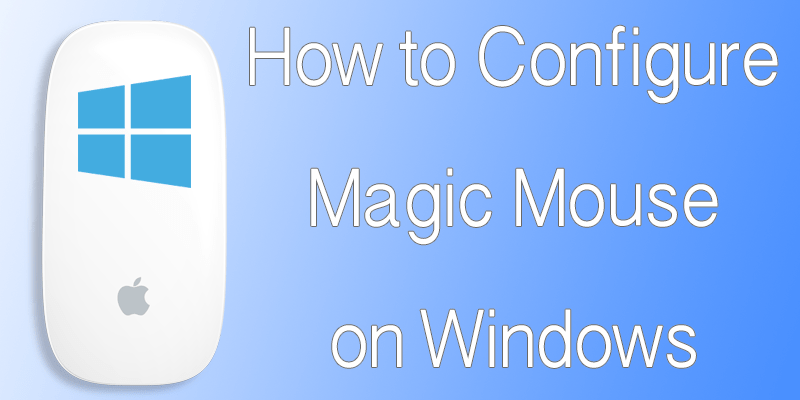
The device automatically pairs with an Apple device upon turning on, and there’s not much of user involvement required in the pairing process. This leaves the Microsoft Windows ecosystem users in frustration, because some of these people might want to use the Apple Magic Mouse in their Windows computers.
If you happen to fall in this latter category, then we have prepared this article for you. Here we describe how an Apple Magic Mouse could be paired and used with the Microsoft Windows 10 / 8 / 7 operating system.
Steps to Configure Magic Mouse On Windows PC
Below are the steps to follow if you want to use Magic mouse on Windows Pc:
#1: Get a Specific Bluetooth Hardware
To use an Apple Magic Mouse on a computer other than Apple MacBook, the user needs to buy a separate receiver for the mouse. Apple computers come with a proprietary Bluetooth radio that’s compatible with the Bluetooth transceiver placed in the Apple Magic Mouse, and thus no additional setup is required on an Apple computer. However, users of Windows platforms can’t make use of the built in Bluetooth radio they have in their computers for full-fledged use of Apple Magic Mouse, instead they need to get this hardware. However, if you are happy with only a two button mouse and scroll up-down features, then you can simply use the Bluetooth radio that comes inside your Windows laptop.
#2: Install Bluetooth Drivers (If you don’t have a Mac)
If you buy the third party Bluetooth module we have mentioned above, then you might need to install a driver especially if you are running a Windows version older than the Windows XP. There are few software in the cyberspace that allows a Windows user to get the full features offered by Apple Magic Mouse, like the swipe left and right option. Again, if you are happy with the two button mouse operation and scrolling up and down; then this software wouldn’t be required.
#3: Install Magic Mouse Utilities
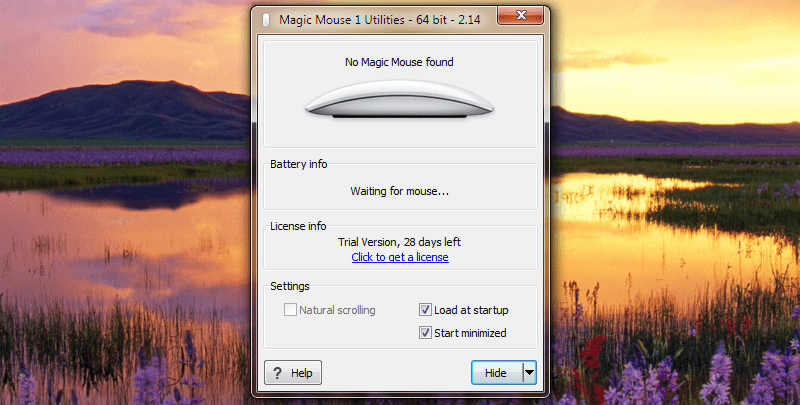
Use Apple Magic Mouse On Windows 10/8/7 PC
For a more fancy touch to your Apple Magic Mouse experience on a Windows computer, you should download the software titled Magic Mouse Utilities. This software needs to run in the background so that every time you swipe left and right or scroll up and down using your fingers, the feature actually works on the computer. People who want to use their Apple Magic Mouse as a regular two button mouse with a regular scroll-ball, they would do just fine without this software.
#4: Initiate a Bluetooth Connection
After you are done with all these operations on your computer, turn on the Apple Magic Mouse and pair the mouse to your computer. If a pairing code is asked, use 0000. The mouse will be connected via Bluetooth, and you can now use the Apple Magic Mouse on your Windows computer.
Conclusion: Using an Apple Magic Mouse on a Windows computer doesn’t provide all the features by default, all the driver and software installation mentioned here helps the computer recognize the Apple Magic Mouse and initiate the full-fledged features.



![30 Best Cydia Repo Sources For iOS 16/15/14 Jailbreak [2024] best cydia sources 2020](https://cdn.unlockboot.com/wp-content/uploads/2020/06/cydia-sources-13-100x70.jpg)