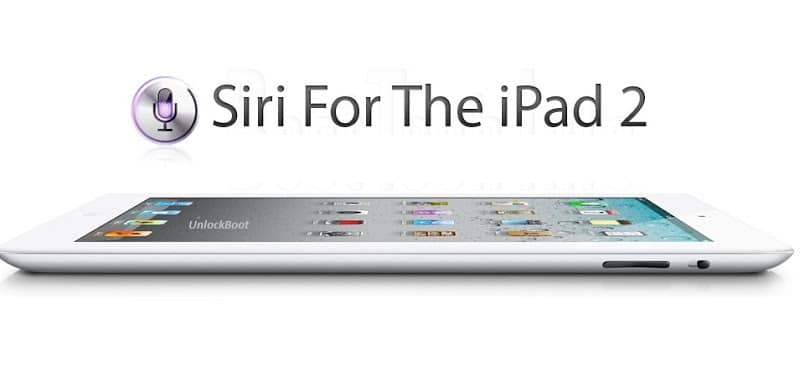
Follow This Tutorial and Install Siri on iPad 2:
Step 1: Jailbreak your iPad 2 on 5.0.1 – complete guide here.
Step 2: Open “Cydia” + “Search” and search for “Spire” and install “Spire” on your iPad 2.
[Installing this can make the iPad change into “iPhone mode” which can make the screen look funky. Quick respiring can fix this problem].
Step 3: Download iFile from Cydia and install it.
Open the app and navigate to /System/Library/CoreServices/Springboard.app/. Now tap and open the K.plist file ((K93AP.plist, K94AP.plist, etc) using the Property List Viewer. Tap capabilities and scroll down until you see “iPad”. Switch iPad from On to Off and tap “Done”. Restart your iPad.
Now go back to /System/Library/CoreServices/Springboard.app/ using iFile. Once there tap and open the K.plist file (K93AP.plist, K94AP.plist, etc) with the Property List Viewer.
Tap capabilities, and scroll down until you see iPad. Switch iPad from Off to On and tap Done and exit iFile.
Step 4: Now download and install Dropbox. Log in and download the ca.pem file which was placed there in the initial Siri Proxy Tutorial (Select it, copy and paste the link in the Safari Browser in your phone) Now select “Install” and tap “Done”.
Step 5: Open iFile again and go to /etc/ Tap “Hosts” and Choose “Text Viewer”. Tap Edit in the upper left-hand corner and add the below mentioned line there:
127.0.0.1 guzzoni.apple.com
Now tap “Save” and then tap “Done”
Step 6: Open the Settings app and go to General>Siri. Enable Siri.
Step 7: Open Settings again and under Extensions select Spire. Type the following in the “Proxy Host” field:
https://guzzoni.apple.com
Step 8: Open iFile and go to /var/mobile/Library/Preferences/. Now tap and open com.apple.assistant.plist
Tap on “Accounts” > Choose your hex key (this will be a random alphanumeric value)>and add the following three fields utilizing the “+” sign in the bottom right-hand corner.
a) Ace Host
b) Assistant Identifier
c) Speech Identifier
d) Then tap “Done”.
Step 9: Open Settings -> Wifi -> and Select the right blue arrow corresponding to your Wifi Connections. Change the DNS field to IP address of your Siri Proxy Server.
Step 10: Exit Settings and test Siri by pressing and holding the Home button. You should also see feedback in the terminal window of Ubuntu server, just like you did when you run Siri Proxy on iPhone or the iPhone 4S.
We hope you would be satisfied with this tutorial?


