A crack on your screen protector? Don’t worry! It just means that your protective covering has taken he lumps on behalf of your phone screen. The outer covering can simply be removed and installed again by following the instructions below.
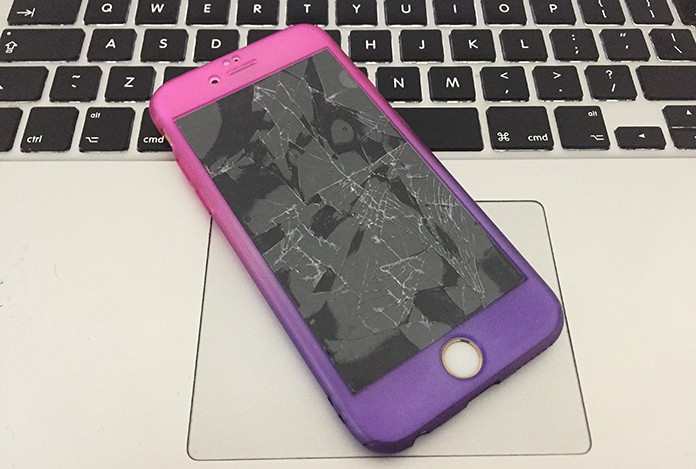
A glass screen protector serves as an additional protective layer and prevents any smudges, scratches and dents from ruining the screens of your iPhone and iPads. And since they are more affordable than the actual screen of your phone – most consumers opt to purchase one along with their high-end gadgets for a complete peace of mind.
But unfortunately, sometimes the everyday “beatings” can become too much for the protective layers to handle and thus the occasional cracks and smudges can make it “less effective”. This calls for a replacement that you can easily do at home.
How? Let’s find out!
How to Remove Screen Protector from iPhone
There are several ways to remove a broken tempered glass screen protector from your iPhone. The method which you apply mainly depends on how-well attached the protector is to your screen.
Before starting, we suggest that you mildly heat the protective screen with a blow-dryer. This will help loosen the adhesive of the protector screen for easy removal.
Method 1: Use Toothpick
Start at the corner and gently push the toothpick to lift the screen protector glass from the screen. Make sure you are very careful not to point the sharp point towards the screen of your phone and only towards the protective covering.
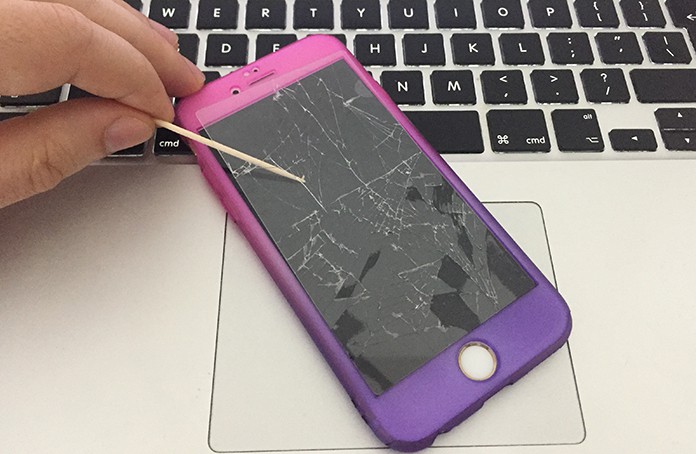
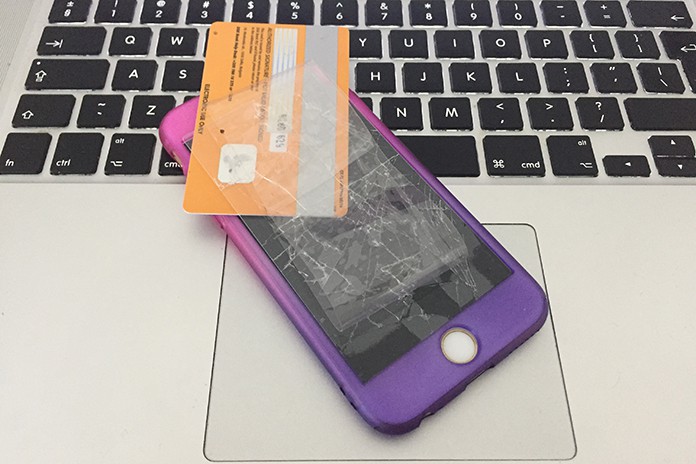
Once you are successful in getting any corner up, pull it just slightly enough to slide a credit card underneath. Just move the credit card around the perimeter of the screen until you are able to pull off the screen protector completely.
Method 2: Use Fingernails
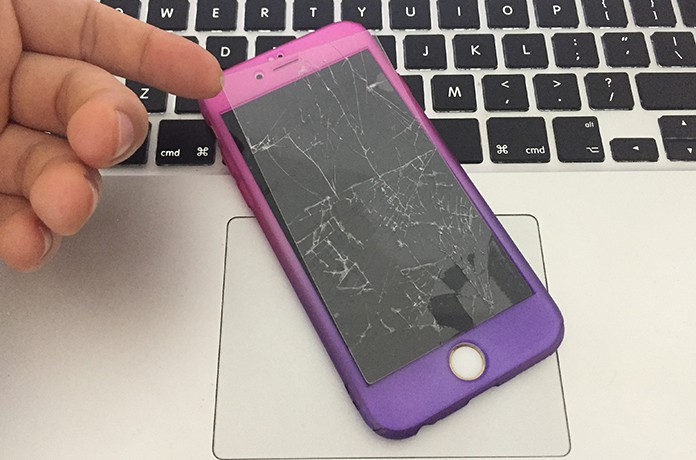
In the first stage, try loosening the protector screen from each corner with your fingernail. If any side gives in, pull the edge slowly and evenly to remove the whole covering.
Method 3: Use Duct Tape
Roll a piece of duct tape around two of your fingers with the sticky side up. Try pressing the duct tape in the corners of your screen. Once the adhesive attaches to the screen, gently pull up the screen away from the actual one.
The above methods are tried and tested and we are sure one of them will work to remove the glass screen protector from your phone.
Once you are successful in doing so, its time to install a new one for enhanced protection.
How to Install a Tempered Glass Screen Protector on iPhone
Before starting, make sure your hands are clean as not to leave any residue or dirt on your iPhone’s screen.
There are two methods of installing a screen protector – the Dry mounting and the Wet mounting. Both are easy to do and require the consumers to follow set instructions based on their phone’s model and style. However, the Wet Mounting method is for the screen protectors that have a bottle of the solution include to aiding in installation.
1. Dry Screen Protector Mounting:
This method is for the screen protectors that come without a solution. In the first step, wipe your phone’s screen with an alcohol pad if it’s provided with the protector. If not, then use a lint-free microfiber cloth.
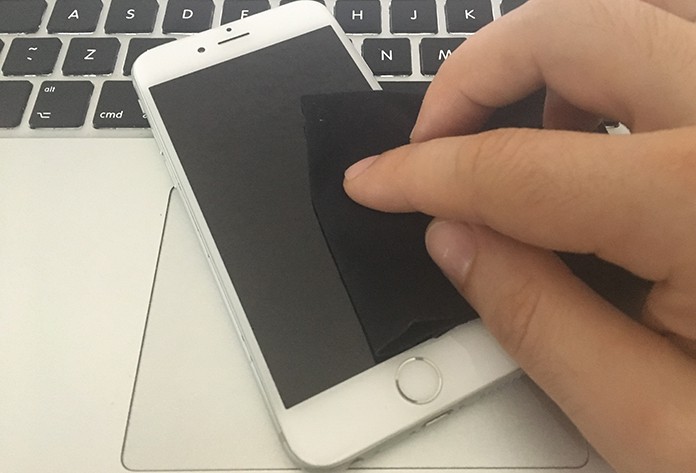
Then slowly pull off the film on the sticky side of the new screen protector. Gently Place the screen protector by aligning the edges of the display along the outline. Make sure that the home buttons, ear piece, proximity sensor, and the camera holes are all aligned.
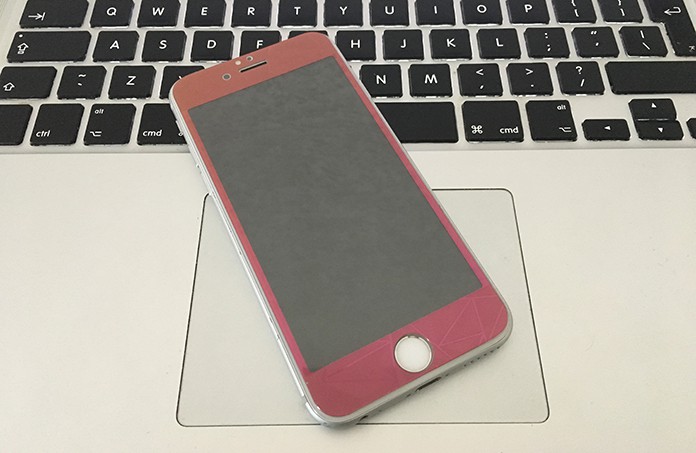
At the end, ensure that no bubbles are formed and smooth them out with a credit card or any application tools that came with the screen protector. Once you are completely satisfied with the result, remove the film covering from the top of your screen protector and ta-da your new screen is ready to be used.
2. Wet Screen Protector Mounting:
Most iPhone users prefer the wet mounting method as it eliminates the occurrence of statics and prevents dust from accumulating under the protectors.
First, clean the screen of your phone or iPad using the given spray and a soft cloth. Then spray on both sides of the protector screen after which place it carefully on the mobile screen. Make sure you balance one end on the screen and slowly flatten it out from one end to another.
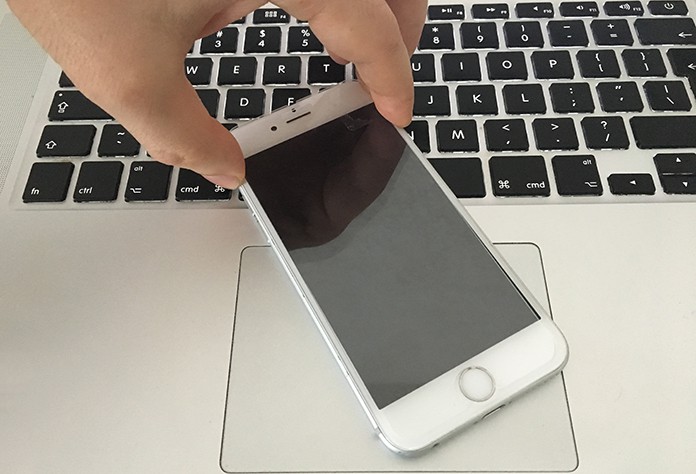
A squeegee is also provided with the wet mounting screen protectors. Use it to remove any excess moisture from under the screen protector.
Finally, allow the solution to dry for at least half an hour after which you can continue to use your phone as you like.
Some tips to remember:
During the installation process, make sure:
- You have all the materials ready and are able to work calmly without any distractions.
- You line up the screen protector properly.
- To wait a couple of hours after installing the screen before putting a case on your iPhone and iPad. This will allow the protective covering to fully adhere to the screen.
In the end, make sure you replace even the minor cracked glass screen protector as sometimes the minor dents can turn into major defects.
Good luck and let us know which method worked best for you!
![TCL Google FRP Removal Service for ANY Model [INSTANT] tcl frp removal service](https://cdn.unlockboot.com/wp-content/uploads/2025/03/tcl-frp-removal-usb-324x160.jpg)
![Nokia Google FRP Removal Service for ANY Model [INSTANT] nokia frp removal service](https://cdn.unlockboot.com/wp-content/uploads/2025/03/nokia-frp-removal-324x160.jpg)


![30 Best Cydia Repo Sources For iOS 16/15/14 Jailbreak [2024] best cydia sources 2020](https://cdn.unlockboot.com/wp-content/uploads/2020/06/cydia-sources-13-100x70.jpg)