Do you want to put iPhone in recovery mode? This mode, along with the DFU mode, is pretty useful when people want to downgrade or restore their iDevices. The recovery mode is sometimes confused with DFU mode, but it is entirely different.

DFU mode vs Recovery mode
DFU mode is basically firmware update mode: and the firmware is updated in this scenario. Recovery Mode and DFU mode are similar in the perspective of how the device behaves and how the device is detected by iTunes. But the main difference for recovery mode is how it functions.
Recovery mode is the only mode where the firmware of the iPhone can be downgraded. It can also assist in restoring the iPhone.
7 Steps to put iPhone in Recovery Mode
- Disconnect the iPhone from PC or Mac.
- Launch iTunes on PC / Mac.
- Press and hold Power and Home button for 10 seconds or till the screen is blank.
- Keep holding the Home button but release the Power button.
- Connect the iPhone via USB to the PC / MAC.
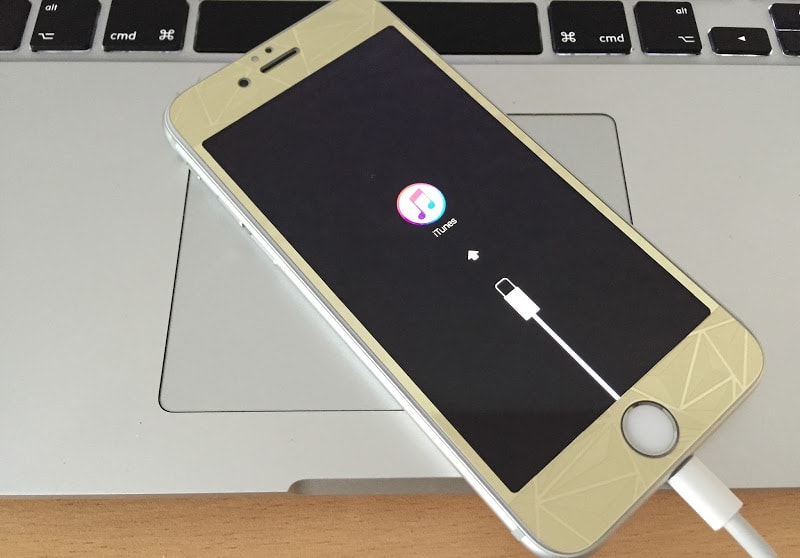
- iPhone will display the iTunes icon and USB cable.
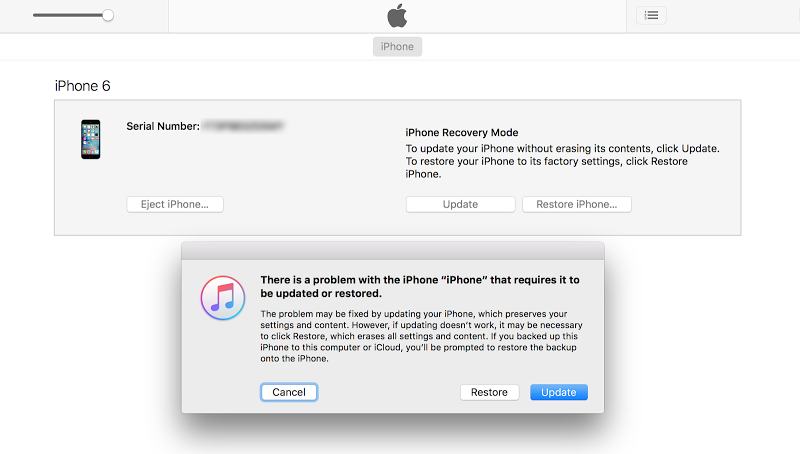
- iTunes will showcase an iDevice in recovery mode. You were successful to put iPhone in recovery mode.

Put iPhone In Recovery Mode – Detected in iTunes
Here’s a video to walk you through the process to put iPhone into Recovery mode:
As mentioned before, the recovery mode is useful when the iPhone has to be restored or downgraded. For an upgrade or update, the iPhone perhaps needs to be placed in DFU mode.
Update #1: If you own a iPhone 7 or 7 Plus please follow this guide here to put your iPhone 7/7 Plus in recovery mode.
How to exit the recovery mode on iPhone
Getting the iPhone out of recovery mode is easy. Just follow these two steps:
- Press and hold the Power and Home buttons for around 15 seconds and wait for the screen to go blank.
- Release the Home button but keep the Power button pressed until the iPhone boots up.
Read Also: How to Get Out of Recovery Mode Without Restore
Alternatively, a software such as TinyUmbrella or RecBoot can be used to kick the iPhone out of recovery mode.

![Honor Google FRP Removal Service for ANY Model [INSTANT] honor frp removal service](https://cdn.unlockboot.com/wp-content/uploads/2024/05/honor-frp-removal-324x160.jpg)


![30 Best Cydia Repo Sources For iOS 16/15/14 Jailbreak [2024] best cydia sources 2020](https://cdn.unlockboot.com/wp-content/uploads/2020/06/cydia-sources-13-100x70.jpg)