This post will teach you how to jailbreak your iDevice with the firmware iOS 8.3 with TaiG 2.1.1. The jailbreak is easy to perform and requires minimal effort on your part, provided that you follow instructions clearly.

We’re going to write the step by step process to jailbreak iOS 8.3 and install Cydia on your iPhone 6 plus, 6, 5, 5c, 5s, 5 and iPad running the latest iOS 8.3 firmware.
Important tool: The tool is compatible with Windows only at the moment, so you’ll need a PC, or you can perform a jailbreak via the Mac computer using a virtual machine such as VMWare Fusion; it isn’t as difficult as it sounds.

The user also needs to downgrade to iTunes 12.1 so that they don’t get stuck at the 20 percent progress level during the process of jailbreak. There’s a full fix available as well, so the downgrade process should be completed in no time.
Jailbreak iOS 8.3 using TaiG
Steps to Jailbreak IOS 8.3 using TaiG
So after noting everything down, here are the steps you need to take:
Step 1: Download TaiG 2.1.1 from our downloads section and extract the file.
Step 2: Switch off ‘Find my iPhone’ and disable the Passcode lock on your iDevice.
Step 3: Next, connect the iDevice you’re using to the PC.
Step 4: Run the tool ‘TaiG 2.1.1’ and it should be able to detect the iDevice.
Step 5: Keep Cydia checked, but uncheck for3K assistant.
Step 6: Select Start.
Step 7: Wait for the jailbreak to complete. If storage full errors appear, just don’t worry and ignore them.
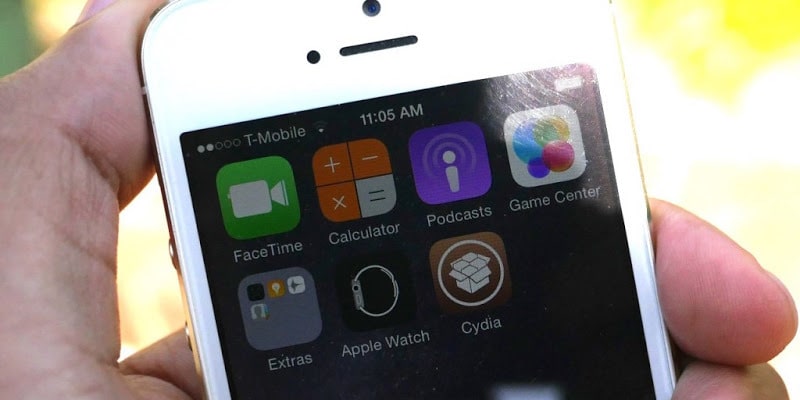
Step 8: After the jailbreak finished, search for the Cydia application on the home screen of your device and start using it.
And that’s all that needs to be done. The jailbreak is going to work with iOS 8.1.3 to iOS 8.3.
At the end, keep in mind that some things such as Cydia Substrate aren’t updated yet, but the legend Saurik is working to release an update, so everything should be available soon.
What are your thoughts? Are you happy with the progress of jailbreaking? Feel free to leave comments.


![30 Best Cydia Repo Sources For iOS 16/15/14 Jailbreak [2024] best cydia sources 2020](https://cdn.unlockboot.com/wp-content/uploads/2020/06/cydia-sources-13-100x70.jpg)