Your iPhone is your number one companion (trust us, it is by your side all the time, even more than your girlfriend), and is your gateway to the virtual world. It also serves as a great fashion accessory, especially if you got a great iPhone cover on your device.

That is why you want to name it as best as you can, because its uniqueness defines your personality. On that account, this post is being written to inform you how to change your iPhone’s name, and the steps mentioned in this post don’t even require you to take the help of iTunes.
5 Steps to Change Name on iPhone without iTunes
- Launch the “Settings” application.
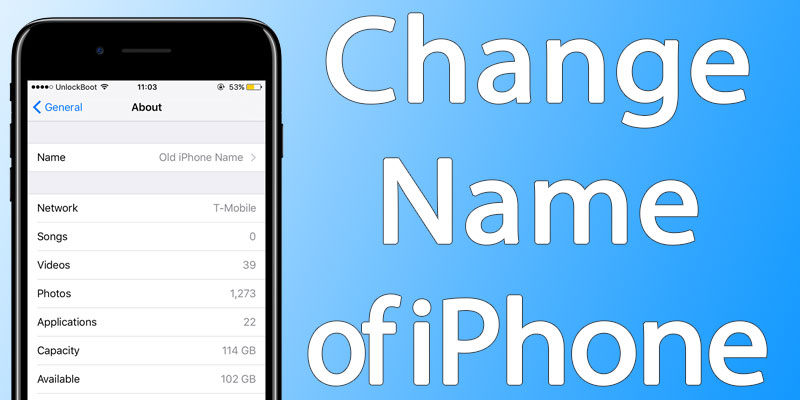
- Tap “General” > “About”.
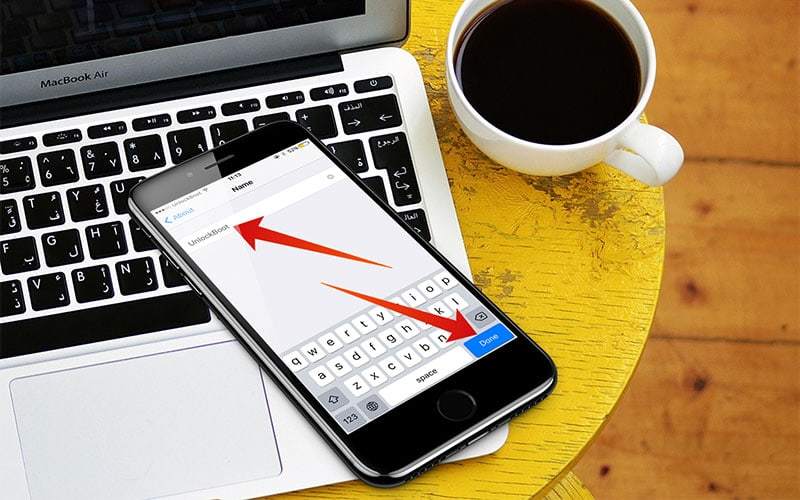
- Tap “inside the text box” where the current name of your device appears.
- Tap “X” on the text box on the right to delete the current name that you are using for your iPhone.
- Enter the new name that you desire for your device, and then tap “Done” option. This will be present at the bottom left of the screen near the keyboard.

Change name on iPhone from Settings
And that’s all that you need to do.
5 Steps to Change Name on iPhone or iPad using iTunes
If you want to change the name of your iPhone or iPad using iTunes, then follow the steps below:
- Connect your device to the Computer and open iTunes.
- Tap on the small phone icon from the top menu.
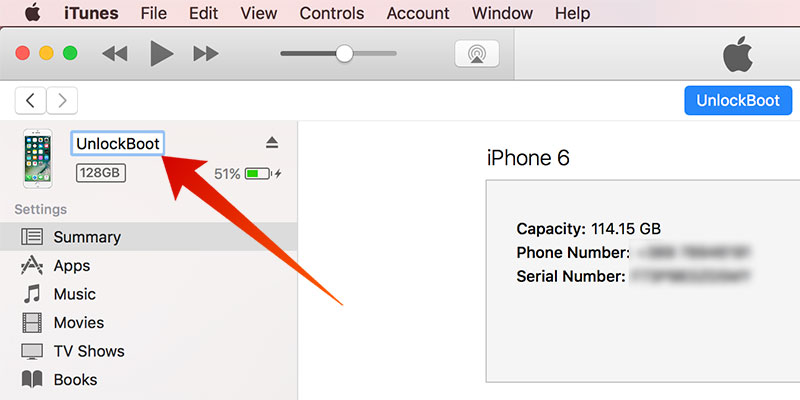
- Now from the left pane menu click on the device which you want to rename it.
- Enter the name you want and hit enter.
- You’re done. The device was successfully renamed.

Change name on iPhone from iTunes
That’s all you need to do to personalize the name of your iPhone. Now when you will go to the “About” menu, iTunes on PC and AirDrop, the new name is going to show up for your device. The name of the iPhone can be changed as many time as desired by the owner, so there’s no limit associated with this action. Therefore, you have the green signal to get creative as many times as you desire.
What was the current name of your iPhone? What did you change it to now? Have you seen any funny iPhone names over the years? Feel free to leave comments.


![30 Best Cydia Repo Sources For iOS 16/15/14 Jailbreak [2024] best cydia sources 2020](https://cdn.unlockboot.com/wp-content/uploads/2020/06/cydia-sources-13-100x70.jpg)