Moving from Mac OS to Windows would be time-consuming for getting used to. A lot of features are given up, at the same time loads of new advanced Windows features roll in. While the shift would be a pleasant experience, for the most part, an Apple user would still miss the streaming services he or she used to have through Apple QuickTime software. The good news is, Apple QuickTime isn’t really Apple exclusive, rather it’s available for the Windows 10 operating system as well. Installation of the QuickTime software on Windows 10 is very simple, it shouldn’t take more than a few minutes. Read the rest of this article to download and install QuickTime on Windows 10 PC.

Is the QuickTime Player for Windows same as Mac OS?
Apart from minor UI changes, the Apple QuickTime software is the exact same copy on Windows OS as well. Those who stream a lot of movies or TV series through QuickTime will find the portability useful, for local content playback any third party player like VLC Player or KMPlayer is as good as QuickTime.
However, once you hit the QuickTime download button you should find only up to Windows 7 listed in the compatibility list. Don’t mind the compatibility because the same executable installer file could be used for Windows 10 without any issue. There’s a plenty of websites that host and stream QuickTime format videos so you should not feel left out with QuickTime in Windows 10.
You can install QuickTime on Windows 10 based PC through the following procedures.
Steps to Install QuickTime on Windows 10, 8 or 7 PC
Step 1: Open the web browser you prefer on your Windows 10 running computer and navigate to the download page for Apple QuickTime here.
Step 2: Apple would ask you for updates to your mailbox, you don’t have to do that if you don’t want. Just leave the email box empty and uncheck the ‘Keep me up to date’ box. Then click on the Download button to download Quicktime for Windows 10 PC.
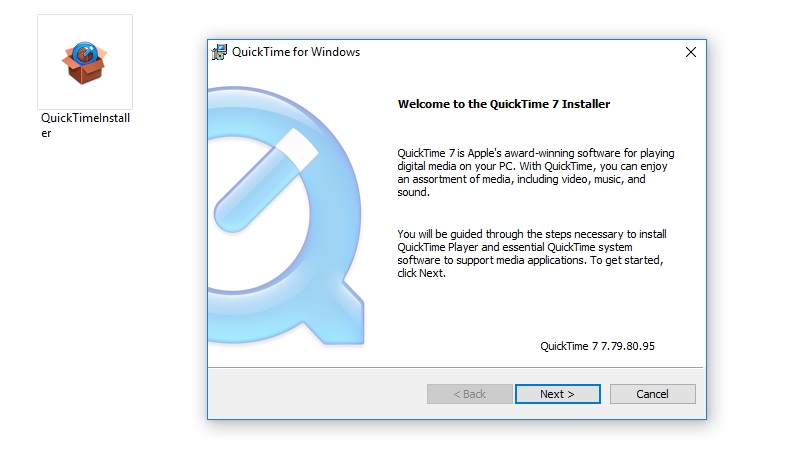
Step 3: In your Downloads folder, you should find an executable file ‘QuickTimeInstaller.exe’. Double click on the executable file and wait for Windows Installer to start installing QuickTime for you.

Install QuickTime on Windows 10 Computer
Step 4: You might get a warning saying the file is from the internet and whether you are sure about the installation. Click yes.
Step 5: Click ‘Next’ to begin the process.
Step 6: The next window should show the License Agreement. Read and click on Yes to accept the license agreement.
Step 7: On the screen that asks you to choose an installation option between ‘Typical’ and ‘Custom’, click on Typical for an easier installation to the default Windows Installation directory. You could adjust each parameter using the Custom option.
Step 8: To place a QuickTime shortcut on the display, keep the box ‘Install Desktop shortcuts’ checked like it is. To keep the destination folder, click on the Change button in the same step.
Step 9: By this step, you should reach the final window of the installation process. Click on ‘Finish’ on the QuickTime 7 Installation Completed window.

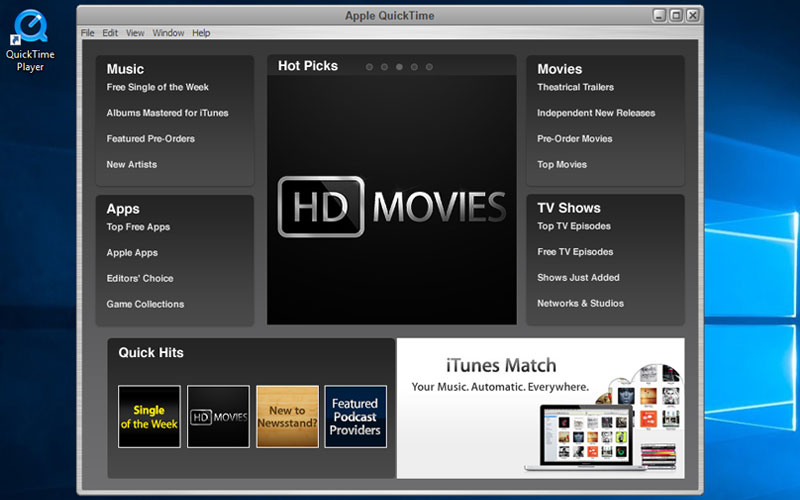
Use QuickTime on Windows 10 Computer
Step 10: You’re done! You now have a working version of QuickTime installed on your Windows 10 computer.
Conclusion
Now that the QuickTime software is installed on your PC, you could simply do all your QuickTime tasks like you are used to.


![30 Best Cydia Repo Sources For iOS 16/15/14 Jailbreak [2024] best cydia sources 2020](https://cdn.unlockboot.com/wp-content/uploads/2020/06/cydia-sources-13-100x70.jpg)