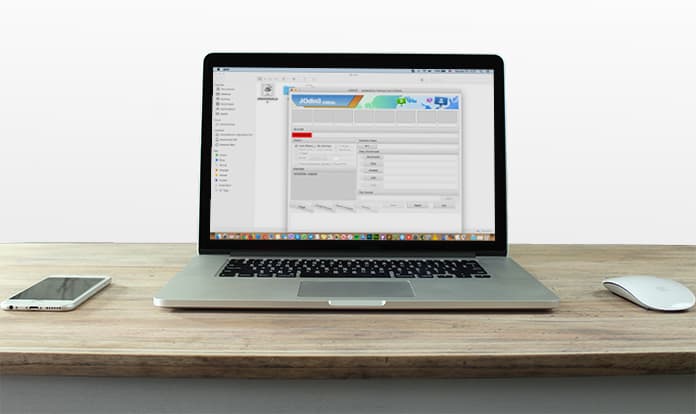
Individuals search for bridge software to connect their Android handset with an Apple OS compatible device like MacBook Air, MacBook, iMac, etc. However, there are a limited set of tools that offer this functionality to users. But since Odin is known to help us to connect as well as provide instructions on how to get every task to work over smartphones, we’re going to talk about installing Odin on Mac today.

In this post, we’ll discuss what Odin is, what are its features, what is the latest available version, requirements, steps to download it, and how to install and use Odin on MacOS. Let’s go.
So What Is Odin and How you can Use it on your Mac?
Odin is essentially a flash tool that allows you to connect your Samsung handsets manufactured by Samsung Inc. It’s very light in size, and it’s used by millions around the world. It has also been labelled as the “best flash tool” for connecting Samsung smartphones and tablets with PC, Mac, and Linux.
We’re just going to talk about installing Odin on MacOS in this post. Remember, for flashing the firmware of your device, you just have to connect it with your Mac PC and activate the Odin or download mode.
Odin for Mac Features:
Odin was created to accomplish tasks such as recovering data, flashing firmware, running bootloader, rooting devices and updating kernels. Listed below are some of the most common features of Samsung Odin.
Flashing Custom Firmware: Another name for custom firmware is custom ROM. Users can flash their device’s custom firmware with the assistance of Odin. It’s also possible to replace or modify ROM’s contests, as it functions with the processing people desire.
Flashing Stock Firmware: It’s also possible to use Odin to flash the stock firmware of a gadget. Hence, you can resolve issues like boot loop, flash and more. Overall, it’s quite beneficial to fix these errors with Odin’s help.
Flashing Recovery File: For those familiar with Team Win Recovery Project (TWRP), Odin lets users flash custom or stock recovery. As a result, it’s possible to add many more functions to a handset running on Android with the assistance of Odin.
Flashing Kernels: Custom kernel doesn’t offer several benefits but does provide a way to attain special features which are initially not there in those manufacturer-supplied kernels. Therefore, Odin makes it possible to flash kernels. You just have to access the “.tar” Odin Flashable Kernel, preferably the one that’s supportive of your handset.
Flashing Root Package: Odin also makes it possible to flash packages of custom root to let root access on your handset.
Is It Possible to Use Odin with MacOS?
Initially, Odin was created for Windows OS. However, Samsung developers are making efforts to make Odin compatible with other operating systems like Linux and Mac.
JOdin is however compatible with Mac’s operating system. Before downloading it, get familiar with the new versions and their compatibility with the current computer.
Odin’s latest version
JOdin3 is the latest version of Odin that’s available for Mac. It’s easily present for several websites. Only make use of trusted ones to download the software so that it functions in a good area. There are sites that can share the download link using some hyperlinks. Therefore, don’t become a victim of a fake hyperlink.
Odin on Mac Requirements
Before anything else, it’s important to double check jOdin3’s requirements for Mac. In many instances, the software’s latest version isn’t supported with the current Mac system because of lack of requirements. Hence, it’s critical to review the software’s requirements.
- USB drivers can be used to update Mac so that it can easily identify your smartphone once it’s connected. Download and install SmartSwitch for Mac.
- Check for Mac iOS’s latest version so that it allows JOdin3 to perform the tasks it needs to modify the features on your handset.
- Java’s latest version should be installed on your system so that Odin functions smoothly.
- In addition to Java, it’s recommended that you install Hemidall on your device.
Steps for Downloading and Installing Odin on a Mac computer
Take the following steps to download and install the software of JOdin3.
- Go to Github to download the latest version of JOdin3 – direct link.
- Extract Odin’s downloaded folder once the download is complete.
- Once everything is extracted, launch the folder and tap to run the installation file.
- Wait a few minutes for the installation to take place. You’ll see the home panel once thee process completes.

Steps to Use Odin on Mac
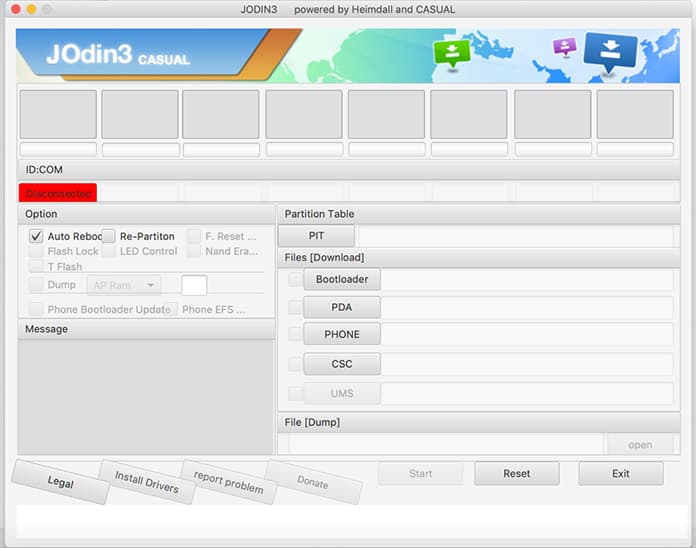
- Launch Odin, and wait for the home window to appear. You’ll come across several options when it does.
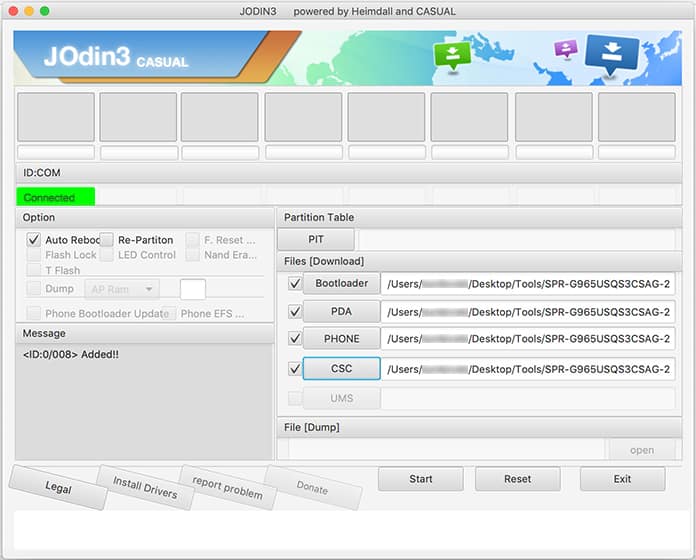
- Scroll down and choose to select PDA tab for opening it.
- Navigate to .tar.md5 and open that file. Once that’s done, boot the handset to Odin or download mode by pressing “volume down,” “home,” and “power” keys together while the device is in a state of reboot.
- Unlock every option present on the Odin window but leave unchecked the auto reboot feature.
- Now click on the button that says “start.” Wait for a few minutes. Your device is going to reboot automatically once the flash process completes.

Final Verdict
That’ll all you need to do to use Odin on MacOS. Hopefully you learned everything you needed to know and would be able to carry out the process with ease. We advise you to create a copy of the device data before proceeding to flash it.
As a reminder, jOdin is the only viable Odin alternative that can be used on a MacOS computer. If you need to know anything else about Odin, or want to share a comment with the rest of the readers, use the comments box below. We’d love to know your thoughts/suggestions on the matter.
![Samsung Galaxy S25/S25+/S25 Ultra FRP Removal Service [Permanent] galaxy s25 frp removal](https://cdn.unlockboot.com/wp-content/uploads/2025/02/s25-frp-removal-324x160.jpg)


![30 Best Cydia Repo Sources For iOS 16/15/14 Jailbreak [2024] best cydia sources 2020](https://cdn.unlockboot.com/wp-content/uploads/2020/06/cydia-sources-13-100x70.jpg)