iPhones are great cameras, and people use iPads for taking photographs as well. These devices don’t come with infinite storage and not every one doesn’t use iCloud Storage, so moving the photos from the iPhone and iPads to computers like Macs become necessary. Copying the photos from an iOS device to a Macintosh computer isn’t as easy as Android or any other phones for the same task. Learn today how to transfer photos from iPhone to Mac easily.

In Android or most other cellphone file infrastructure, one can simply connect the phone or the external memory card to a computer and get the photos. On Apple platform though, security is taken very seriously and there are some protocols of fetching the photo from the iPhones to the Macs.
1. Transfer Photos from iPhone to Mac Using Photos app
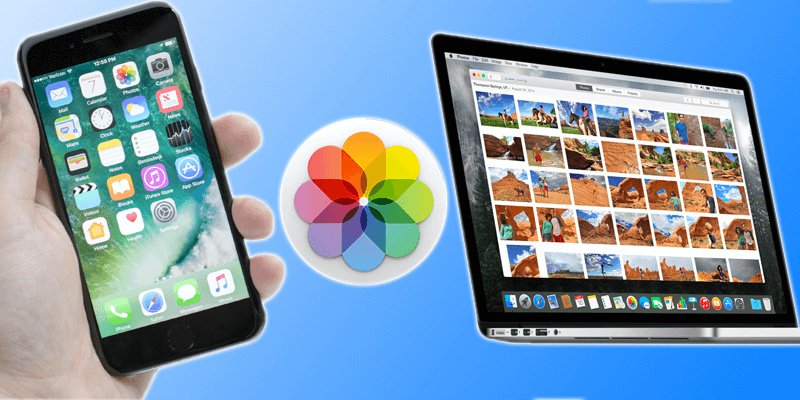
Apple has introduced a new Photos app for the Macintosh computers. Although the older Mac OS version Macs may not have the Photos app in their dock yet, but the older variant iPhotos would still do the job. The functionalities are identical, just fitted into an older ecosystem.
However, your newer iOS devices will still be identified by the older iPhoto app so there should not be a trouble. To use the Photos or iPhoto app to transfer photos from an iPhone or iPad to the Mac, here’s what you can do.
2. Import photos from iPhone to Mac using a USB Connection

Transfer photos from iPhone to Mac using Photos App
Using the lightning cable delivered with the iPhone is still the best way to transfer photos fast, especially if you are transferring a very large number of photos from the iPhone to the Macintosh. Do the following:
- Connect the iPhone to your Mac using the lightning cable, connect the iPhone first and then the other end to the computer.
- Since the iPhone contains photos, the iPhoto or Photos app on your Macintosh computer should be launched automatically. If it doesn’t, launch using the dock or the applications folder.
- The photos on your iPhone or iPad will now be shown in Photos app. Select the ones you want to import and click on ‘Import New’; it’s a blue button on the top right corner.
If the ‘Delete Items’ box is checked, the photos will be deleted from your iOS device after they are imported to the Mac.
3. Share photos from iPhone to Mac via iCloud Photo Stream

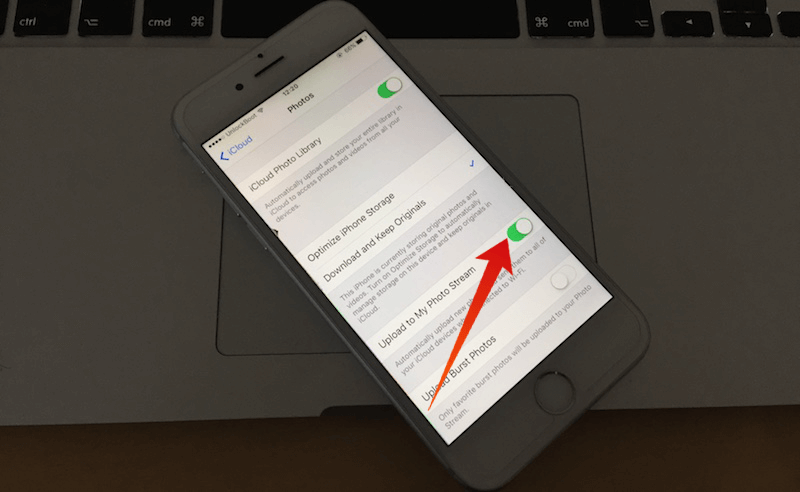
Use iCloud Photo Stream to Transfer photos from iPhone to Mac
To make sure the above functionality works properly, do these beforehand:
- Go to Settings – iCloud – Photos and toggle the switch to turn on Upload to My Photo Stream service.
- Now, open Photos app on your Mac and navigate to Preferences – iCloud then check My Photo Stream.
4. Transfer Photos from iOS device to Mac using Image Capture

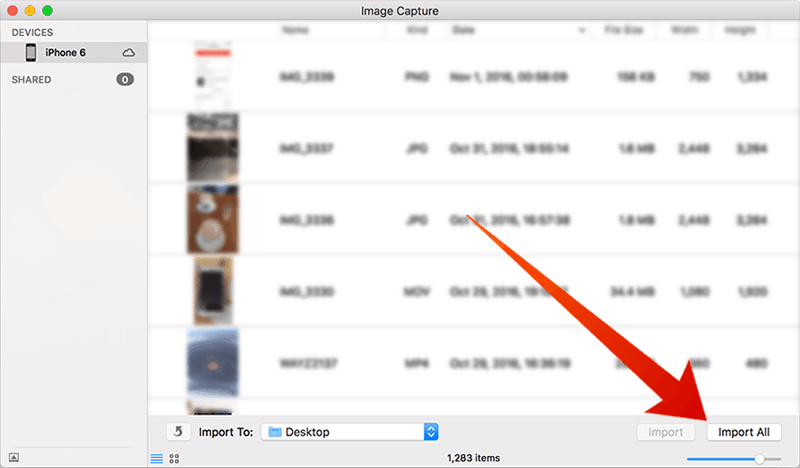
Use Image Capture app to transfer iPhone photos to Mac
Photos might take a toll on the older Macbooks, ‘Image Capture’ is a much lighter option in that regard. If you want to use this method, do the following steps:
- Connect iPhone to the Mac and open Image Capture. List of connected devices should populate, click on the device you have connected.
- The bottom section has an ‘Import To’ option that defines where to save the imported photos.
- Select the pictures you want to import and click Import.
5. Transfer Photos from iPhone to Mac With AirDrop

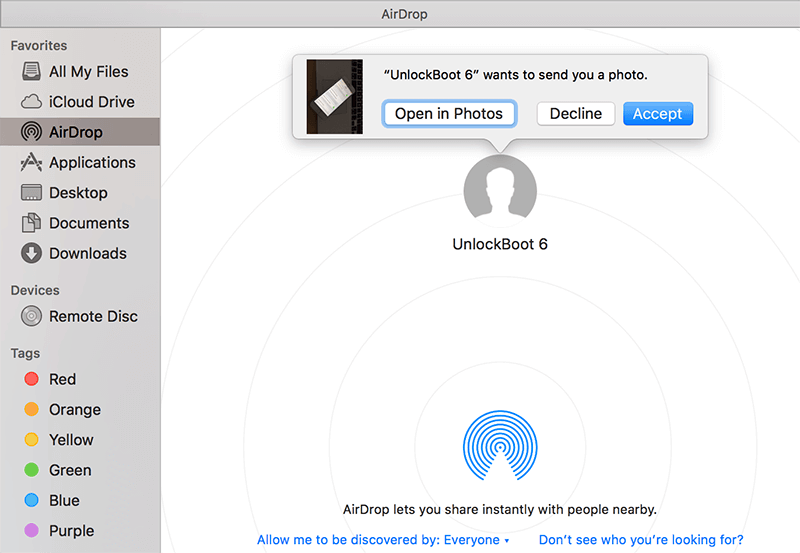
Use Image AirDrop to transfer photos from iPhone to MacBook
If you want wireless coverage and both your iPhone and Mac are one of the newest generations, then use AirDrop instead. Simply open AirDrop in Mac. In iPhone, select the photos you want to save to Mac and then use the AirDrop option from Share.
Read Also: How to Recover Deleted Photos from iPhone
Conclusion: These are the 3 easiest and mostly used methods to safely transfer photos from an iPhone or iPad to a Macintosh computer.


![30 Best Cydia Repo Sources For iOS 16/15/14 Jailbreak [2024] best cydia sources 2020](https://cdn.unlockboot.com/wp-content/uploads/2020/06/cydia-sources-13-100x70.jpg)